


Quality Assurance: Future-Proof Your Software Development
Analyze. Automate. Accelerate. Assure Quality.
No matter your development approach, we have comprehensive quality management tools for your entire software lifecycle.
If you have any questions, we are here to help.
Contact Us Buy QA


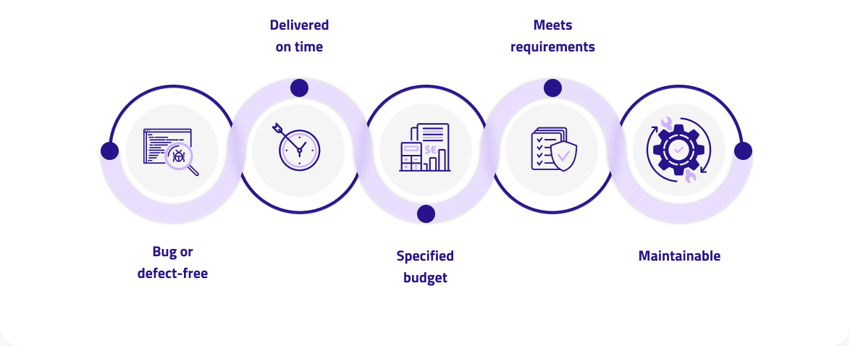
We Cover Each Pillar of Software Quality Management
Our comprehensive quality assurance product portfolio enables you to automate your testing, accelerate your software lifecycle, and most importantly, ensure quality. Combine those elements and you save time, cost, and enable growth.
